-
PRODUCTS
-
Mice
-
Krypton Series
- Krypton 770
- Krypton 750
- Krypton 700 G2
- Krypton 660
- Krypton 555
- Krypton 550
- Krypton 510
- Krypton 290
- Krypton 220
- Krypton 200
- Krypton 150
-
Xenon Series
- Xenon 800
- Xenon 770
- Xenon 220 G2
-
Zircon Series
- Zircon XIII
- Zircon 660 PRO
- Zircon 660
- Zircon 550
- Zircon 500
- Zircon 330
-
-
Keyboards
-
RX Series
- RX85 RGB
-
Thor Series
- Thor 660 G2
- Thor 660
- Thor 420 RGB
- Thor 404 TKL
- Thor 401 RGB
- Thor 400 RGB
- Thor 380 RGB
- Thor 303 TKL
- Thor 303
- Thor 300 TKL
- Thor 300 RGB Limited US/RU
- Thor 300 RGB
- Thor 300
- Thor 230 TKL Wireless
- Thor 230 TKL Lite
- Thor 230 TKL
- Thor 210 RGB
- Thor 100 RGB
-
Lith Series
- Lith 400 RGB
-
Rhod Series
- Rhod 500 RGB
- Rhod 420 RGB
- Rhod 410
- Rhod 400 RGB
- Rhod 350 RGB
- Rhod 300 RGB
- Rhod 110
-
Cobalt Series
- Cobalt 330 RGB
-
- Keyboard accessories
-
Mousepads
-
Boron Series
- Boron 500 XXL RGB
-
Carbon Series
- Carbon 700 XL Cordura®
- Carbon 700 MAXI Cordura®
- Carbon 500 XL LOGO
- Carbon 500 Ultra Wave
- Carbon 500 Ultra Blaze
- Carbon 500 S LOGO
- Carbon 500 Maxi WOWS Błyskawica
- Carbon 500 MAXI WOWS Armada
- Carbon 500 MAXI LOGO
- Carbon 500 MAXI LAVA G2
- Carbon 500 MAXI FLASH G2
- Carbon 500 M WOWS Błyskawica
- Carbon 500 M WOWS Armada
- Carbon 500 M STEEL G2
- Carbon 500 M LOGO
- Carbon 500 M FIRE G2
- Carbon 500 M FIRE
- Carbon 500 L RISE
- Carbon 500 L LOGO
- Carbon 400 XXL LOGO
- Carbon 400 M LOGO
-
Polon Series
- Polon 200 XL
- Polon 200 L
-
-
Headphones
-
Selen Series
- Selen 400
-
Radon Series
- Radon 800
- Radon 720
- Radon 610
- Radon 300
- Radon 210
-
Toron Series
- Toron EP02
- Toron EP01
- Toron 531
- Toron 301
-
Argon Series
- Argon 600
- Argon 400
- Argon 200
- Argon 120
- Argon 110
- Argon 100
-
Neon Series
- Neon 764
- Neon 613
- Neon 360
- Neon 350
- Neon 200 RGB
-
HEADPHONE ACCESSORIES
- Thulium 100
-
- Speakers
-
Microphones
-
Radium Series
- Radium 600 G2
- Radium 400 G2
- Radium 400
- Radium 350D
- Radium 300 XLR
- Radium 200
- Radium 100
-
MICROPHONE ARMS
- Thulium 700
- Thulium 500
- Thulium 350D
-
-
Controllers
-
Seaborg Series
- Seaborg 400
- Seaborg 350
-
Mangan Series
- Mangan PV65
- Mangan PV58
- Mangan P65
- Mangan P58
- Mangan 400 WIRELESS
- Mangan 300 WIRED
- Mangan 200
-
-
PC Cases
-
Diaxid Series
- Diaxid 605F
- Diaxid 605 ARGB
-
Irid Series
- Irid 505F
- Irid 505 V2 ARGB
- Irid 505 V2
- Irid 503 V2
- Irid 503 ARGB V2
- Irid 503 ARGB LITE White
-
Accessories
- S.HUB FOR GENESIS IRID ARGB
-
-
Gaming desk
-
Holm Series
- Holm 510 RGB
- Holm 320 RGB
- Holm 300 RGB
- Holm 200 RGB
-
Holm Modular Series
- Holm Modular Side Table Top (left)
- Holm Modular Side Desk Top (right)
- Holm Modular RGB
-
-
Gaming Chairs
-
Astat Series
- Astat 700 G2
- Astat 700 G1
- Astat 200 G2
-
Trit Series
- Trit 600 RGB
- Trit 500 RGB
-
Nitro Series
- Nitro 950
- Nitro 890 G2
- Nitro 770
- Nitro 720
- Nitro 710
- Nitro 650
- Nitro 560
- Nitro 550 G2
- Nitro 550
- Nitro 440 G2
- Nitro 330
-
Floor mats
- Tellur 500 MoC
- Tellur 400 SQUARE HUD
- Tellur 400 ROUND LAVA
- Tellur 400 OCTAGON LOGO
- Tellur 300 GEAR
-
- Backpacks
-
Accessories
-
ADAPTERS FOR CONSOLE
- Tin 200
-
COOLING PADS
- Oxid 850
- Oxid 550
- Oxid 450
- Oxid 260
-
MOUSE BUNGEE
- Vanad 500
- Vanad 300
- Vanad 200
-
PC FANS
- Oxal 120 ARGB 3-pack
- Oxal 120 ARGB
-
THERMAL GREASE
- Silicon 900
- Silicon 900
- Silicon 851
- Silicon 850
- Silicon 801
- Silicon 701
-
Others
- VR Cable USB-C/USB-A M/M 5M
- VR Cable USB-C/USB-A M/M 3M
- VR Cable USB-C M/M 5M
- VR Cable USB-C M/M 3M
- Tin 300
- IPA 100
- HDMI 8K CABLE COMPATIBLE WITH XSX
- HDMI 8K CABLE COMPATIBLE WITH PS5
- GAMEPAD CHARGER GENESIS TIN 305 FOR PS5 SLIM CONSOLE
-
-
Gadgets
-
DRESSES
- T-shirt Holo
- Sweatshirt Holo
-
LOOT BAGS
- Bag G2
-
OTHERS
- Silicone wristband
- GENESIS Key Lanyard
- Ceres mug
-
-
Outlet
-
Mice
- #GENESISGAMING
- SUPPORT
- Contact
- Shop

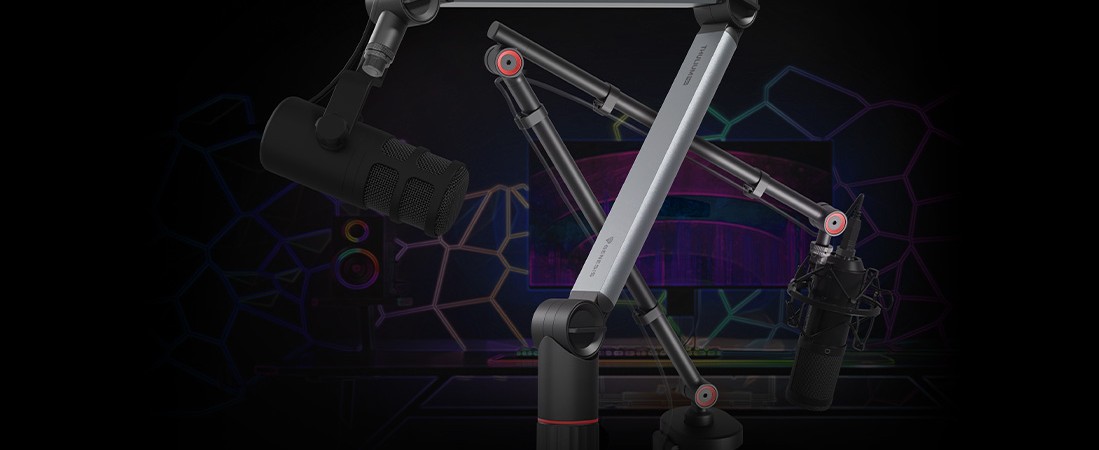
Mounting a microphone arm is a key part of building a professional stand for streaming, communicating with friends, or (a bit more specialized) recording audio. Whether you're a streamer, host a podcast, or simply want to enjoy a comfortable microphone positioning during an online game, properly attaching a microphone will not only ensure your comfort, but also improve the quality of your recordings. In this tutorial, I will discuss how to properly install and position a microphone arm in the context of a professional computer workstation.
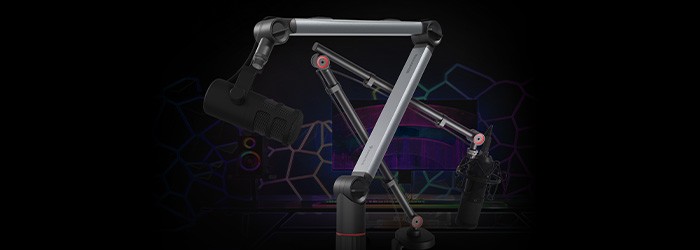
Choosing the right microphone arm
The first step in creating a professional workstation is to choose the right arm. There are many models available on the market, and the choice depends on several factors:
- Microphone size: make sure the arm is sturdy enough to support the weight of your microphone. Lighter microphones (usually dynamic microphones) can be mounted on smaller, more compact arms or stands, while larger models such as condenser microphones require sturdier and more stable arms.
- Range of motion: depending on your working space, choose an arm that allows a wide range of motion. It is important to be able to fine-tune the microphone in different positions and planes.
- Mounting mechanism: there are arms that attach to the desk with a clamp, and those that require drilling holes. Models with a clamp system are definitely more convenient and therefore more popular. After all, none of us wants to interfere with the structure of our desk with a drill if it is not absolutely necessary.
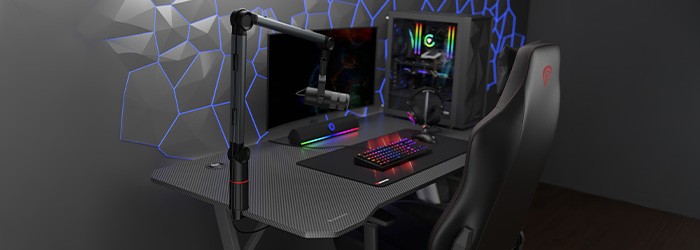
Installation of the microphone arm
After choosing the right arm, it's time for installation. It's worth doing this step according to the following instructions to avoid problems with microphone positioning in the future.
Let me just add that in this guide I focus on the installation of an arm with a clamp mount, because these are the solutions - as I mentioned above - that are today's standard.
Step 1: secure the workstation
Before you begin assembly, make sure you have enough space on your table or desk. A good practice - as with other jobs of this type - will be to remove unnecessary objects that could interfere with the installation. If you're using a clamping system, choose a spot on your desk that is stable yet allows easy access to the microphone.
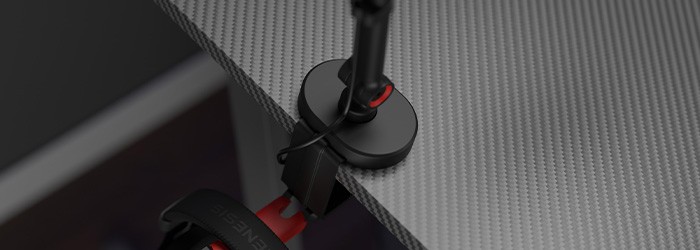
Step 2: mounting the arm bracket
Start by attaching the arm bracket. For models with a clamp system, simply screw the bracket firmly to the edge of the desk. Make sure the bracket is securely fastened and there is no so-called "play."
Step 3: mounting the microphone arm
After attaching the holder, it's time to attach the arm itself. Depending on its design, it is usually enough to insert the arm into the holder and screw it into position. Check that the arm is stable and does not have the aforementioned "play". If the arm is telescopic or extendable, make sure that all components are properly locked.
Positioning the microphone on the arm
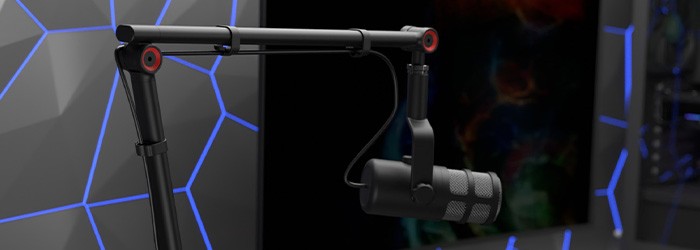
Proper microphone positioning is key to getting the best possible recording quality. Here are some tips that - in my experience - will prove most useful:
Step 1: microphone height
The microphone should be at the height of your mouth. Position it so that it is pointed toward them, but not directly at them, to avoid sound interference caused by breathing, for example. If you are using a condenser microphone, it is best to position it at a distance of about 10-15 cm from the mouth. It is worth mentioning that often so-called pop-filters, or mesh, are mounted to the arms to cancel out "explosive voices", as they are unpleasant to the ears of listeners.
Step 2: microphone angle
Most microphones have a cardioid characteristic, which, simply put, means that they collect sound best from the front. If your microphone has just such a characteristic - position it so that it is pointed directly toward your mouth, with the back of the microphone facing the monitor or other noise sources to minimize sound.
Step 3: secure the cable
To avoid an unsightly appearance and unnecessary clutter, make sure the microphone cable is properly routed. You can use special clips or cable ties (which are standard on good quality arms) to secure the cable, which in turn will prevent it from accidentally breaking or tangling.
Testing the setup
After mounting the arm and microphone, perform some sound tests to check that the microphone is properly set up. Check that the sound is clear, without unwanted distortion, and that the microphone responds to your voice naturally. If necessary, adjust its position until you find the most comfortable and effective configuration. Many microphones also have a saturation adjustment, or Gain, which allows you to adjust its sensitivity... but about that in another guide.
Maintenance and upkeep of the microphone arm
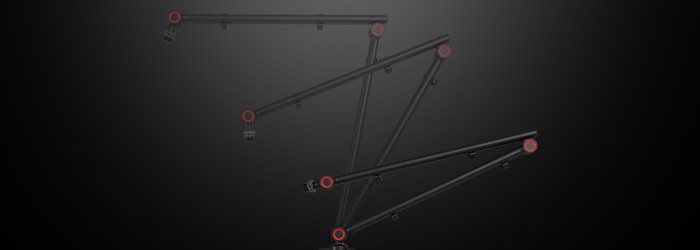
In order for your microphone arm to serve you for a long time, you should regularly check its condition. It's a good idea to lubricate the moving parts of the arm from time to time to ensure smooth adjustments and no unpleasant noises. Also check that the mount is well screwed in and that the arm shows no signs of wear such as sagging under the weight of the microphone.
GENESIS Thulium 500 and 700 series
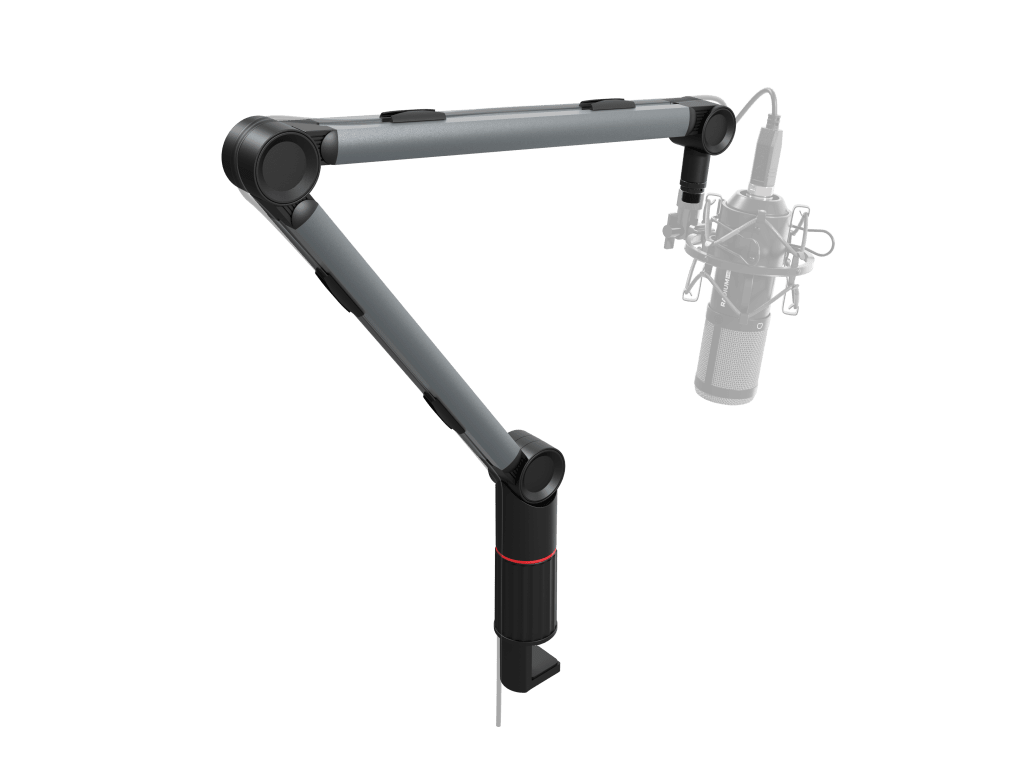
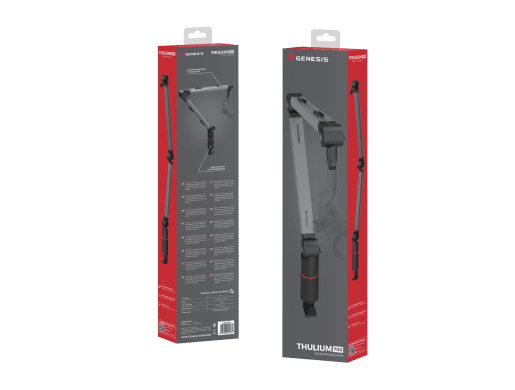
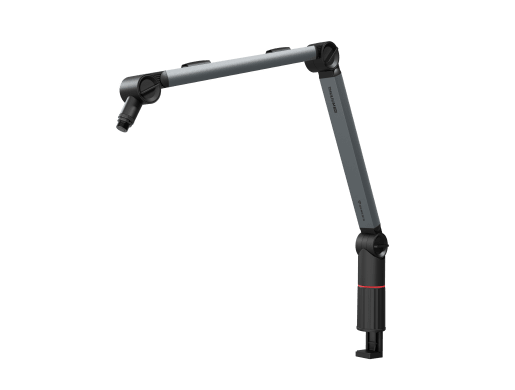
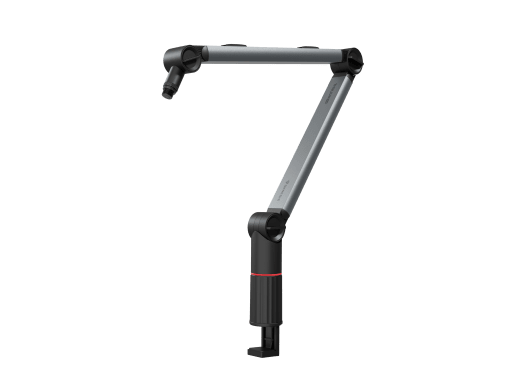
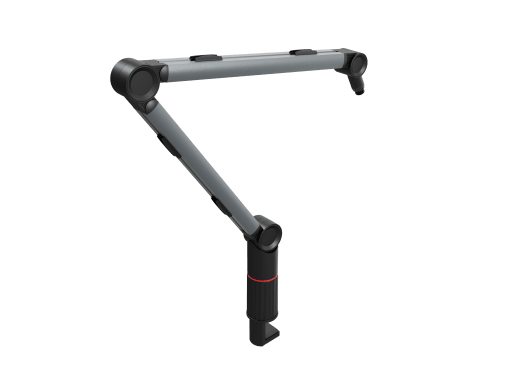
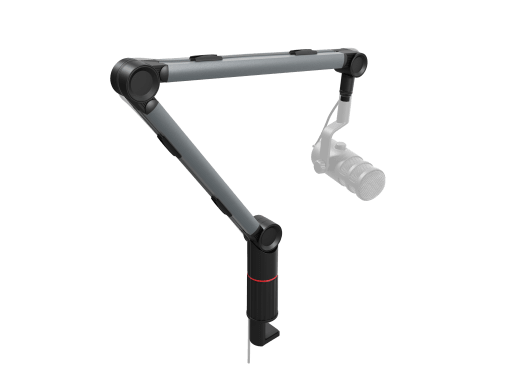
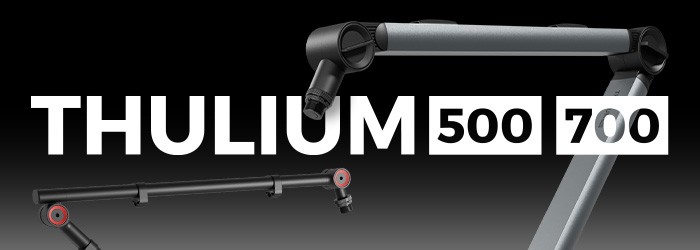
Taking the above advice into account, you can take a look at our new Thulium series arms: the 500 and 700, which we created with versatility in mind, as well as durability for years to come. We are sure that in their price category they offer quality that you can't find in vain in the competition. You can check them out here and here.
Summary
Proper installation and positioning of a microphone arm is a key element of a professional stand. Proper selection of the arm, its stable mounting, microphone positioning and care of the cable are important aspects that affect the quality of your recordings and the life of your equipment. Remember to test your microphone's settings and perform regular maintenance to ensure its long-term functionality.
Source: own development.
