


Many computer users think that installing an AiO cooler is a task reserved for experienced PC enthusiasts. In reality, this is not the case at all - with a little attention and following a few simple rules, installing an all-in-one water cooler turns out to be a really simple process. This guide will prove to you that you don't need years of practice to properly install an AiO in your case. To make it even easier for you, we have prepared a video tutorial that describes the same process in very detailed yet easy-to-understand steps. We invite you to check it out:
Why is cooling so important? An efficient heat dissipation system is the key to stable processor operation, lower temperatures and, consequently, longer component life. We wrote more about what are the most important reasons to take care of cooling in your computer in this article.
However, before we start - if we approach the subject comprehensively, we should start by checking what kind of housing we have and whether it is compatible with different sizes of coolers. This information can usually be found on the manufacturer's website or from the distributor. On this basis, we adjust the mounting method. The optimal solution is to mount the AiO on the top panel of the case (TOP).
So... get to it!
The first step is to place the cooler on the top panel of the case with the wires towards the front panel. Make sure you pull the air out of it to improve circulation and heat dissipation.
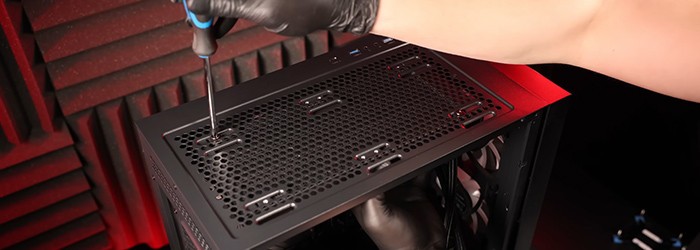
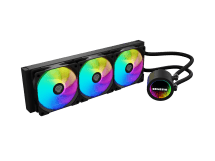
Mounting the radiator on the top of the case
Apply a thin, even layer of thermal paste to the surface of the processor. The AiO kit comes with high-quality Silicon 900 paste and a practical spatula for easy application.
For best results, start applying the paste from the top edge of the processor and gently spread it over the entire surface. Remember that the layer should be as thin and uniform as possible - this will ensure optimal thermal conductivity and maximum cooling performance.
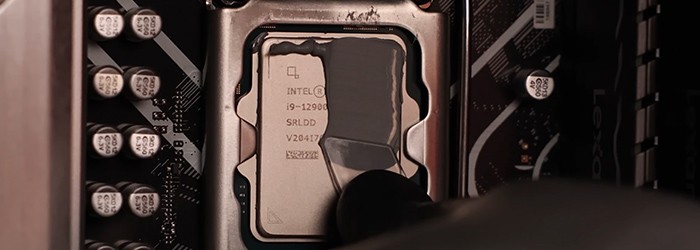
Thermal conductive paste application
On the back of the motherboard, mount the backplate included in the AiO kit. This is the basis for further mounting of the block-pump.
With Intel processors, we use the included backplate, while with the AMD platform we use the factory backplate, into which we screw the spacer screws. An additional convenience is the factory double-sided tape included in the kit. With it, the backplate can be glued to the motherboard, which greatly simplifies the installation and eliminates the problem of the component slipping while screwing in the spacers.
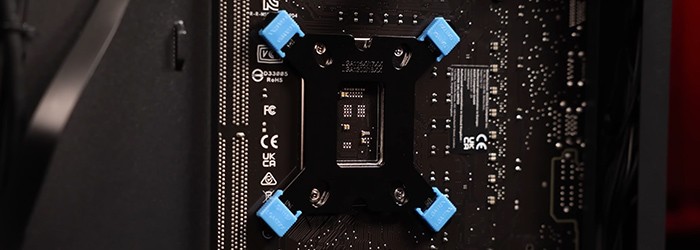
Installation of the backplate
Screw in the appropriate spacers matched to the socket of Intel processors (LGA 17XX or 115X/1200), Their correct seating ensures optimal pressure of thermal conductive paste, in addition, prevents excessive pressure on the surface of the processor.
For AMD processors, we do not use spacers.
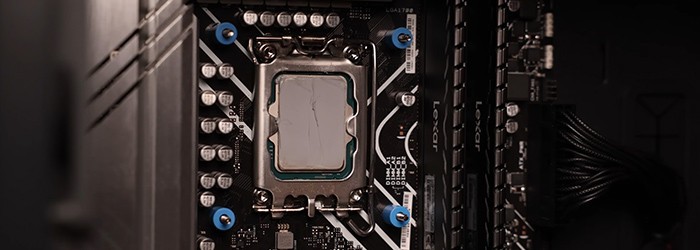
Selection and installation of spacers
Before installation, make sure that the protective film from the coldplate has been removed from the surface of the block-pump. It's a small detail that makes a huge difference - leaving the film is a common beginner's mistake and significantly reduces cooling efficiency.
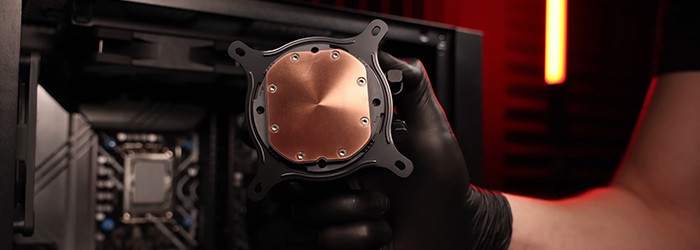
Removal of protective film
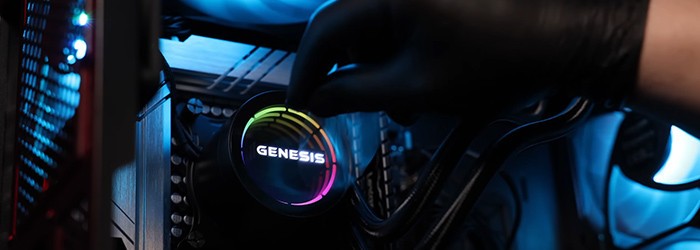
Put the block-pump to the processor so that the wires are on the right side (towards the front panel) so that it will be easier to arrange them, and then pre-tighten them with the nuts from the kit, then tighten them more firmly in a criss-cross manner. Make sure that the wires are not over-tightened.
Importantly - if you have a processor running on the AM5 platform, moving the block-pump on the mounting frame downward can help improve cooling performance.
Installation of a block pump on the processor
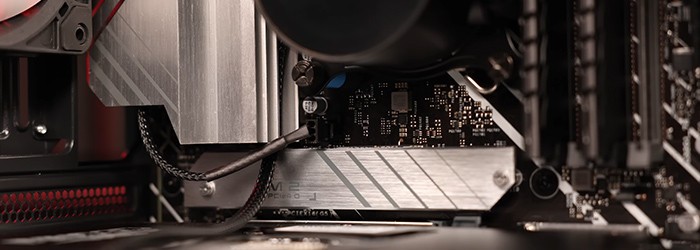
Connect the pump wires to one of the dedicated sockets: CPU_FAN, CPU_OPT, PUMP_FAN, AIO_PUMP, W_PUMP, SYS_FAN, CHA_FAN, PWR_FAN, PUMP, CPU_PUMP or any other 3- or 4-pin connector.
The situation is similar for fans. You can connect them to sockets such as CPU_FAN, CPU_OPT, SYS_FAN, CHA_FAN, SYS_FAN1, SYS_FAN2, CHA_FAN1, CHA_FAN2, OPT_FAN, EXT_FAN or any other 3- or 4-pin connector.
Connecting the wires to the motherboard
Mounting the AiO on the front looks very similar to installing it on the top. It differs only in a few steps:
On the front, the cooler should draw in cool air from outside. Make sure the fans are set to blow air in, with the top and rear case fans acting as exhaust.
Before attaching the cooler to the front, mount the fans in the correct orientation - you will avoid later problems with ARGB lighting.
With this method of mounting, the fans should not be screwed to it beforehand - this should be done only after the whole set is placed in the case.
Our proposed solution:
- Remove the fans from the radiator
- Install the pump according to steps 2-7.
- Put the fans in the same orientation (easily identified by the location of the cable) on the outside of the case.
- Tighten the radiator and screw on the fans using the factory screws with which they were previously attached.
Installing AiO cooling may seem complicated, but by following the steps above you will avoid mistakes and ensure that your computer has an efficient and quiet cooling system, and that you are comfortable with its operation and performance.
With GENESIS, it's easy!


